Learning how to melt edible gummies into liquid requires a simple, controlled process. You can melt gelatin or pectin candies safely by applying gentle, indirect heat. Always maintain a safe temperature range between 95°F and 150°F. This precise target protects active compounds like THC and CBD from degrading completely. It also prevents sugary syrup from scorching or burning inside your pan.
Proper initial preparation guarantees smooth success. First, separate all chewable pieces by color and brand. Next, gather non-stick silicone spatulas and temperature-safe glass containers. These reliable tools prevent sticky residues during the liquefaction step. Controlled thermal application delivers ideal results without ruining your whole batch.
Key Takeaways
- Use low and indirect heat between 95°F and 150°F to protect the THC and CBD potency.
- Melt gummies using a double boiler or short microwave bursts at half power for best results.
- Stir the mixture constantly with a silicone spatula to prevent burning and hot spots.
- Add a small splash of warm water or fruit juice to keep the liquid syrup smooth.
- Pour the warm liquid quickly into molds before the mixture cools and hardens.
1. Why Melt Edible Gummies Into Liquid? 5 Creative Uses
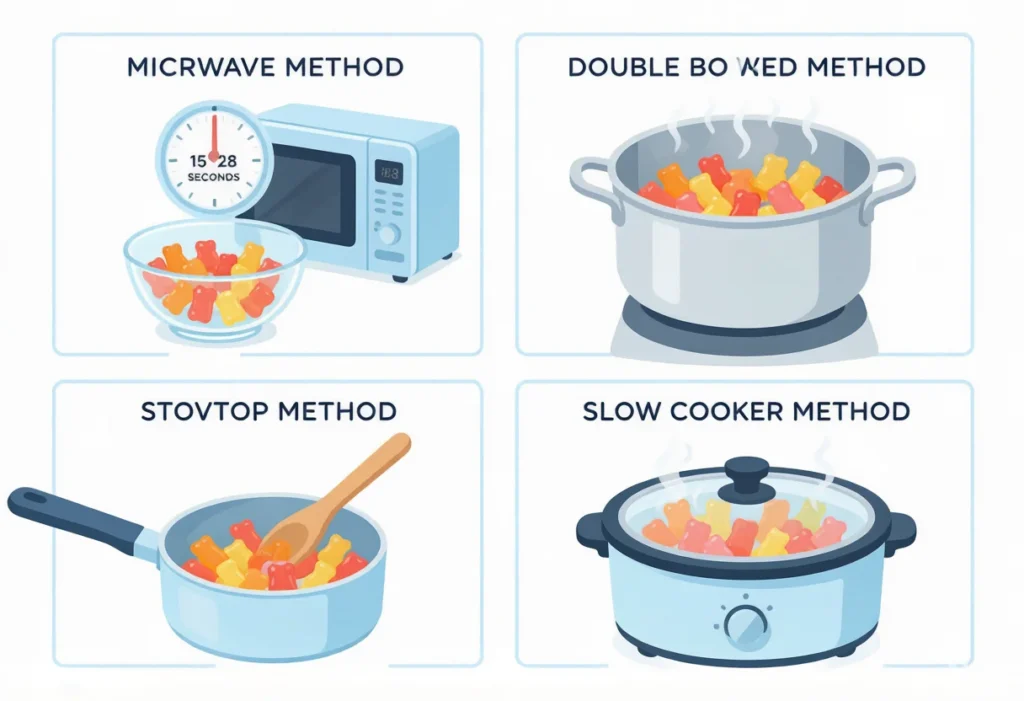
Transforming solid candy into a smooth liquid unlocks new culinary possibilities. You can easily adapt store-bought treats for exciting kitchen projects. Proper preparation guarantees smooth results every time. First, sort gummies by flavor and chop them into uniform pieces for even heat distribution. Next, choose your preferred heating method. The double boiler method uses indirect heat and continuous stirring with a silicone spatula to maintain a smooth texture. Alternatively, the microwave method uses short 15 to 30 second intervals at 50% power with thorough stirring between bursts to avoid scorching.
1.1 Make THC/CBD-Infused Drinks, Smoothies & Cocktails
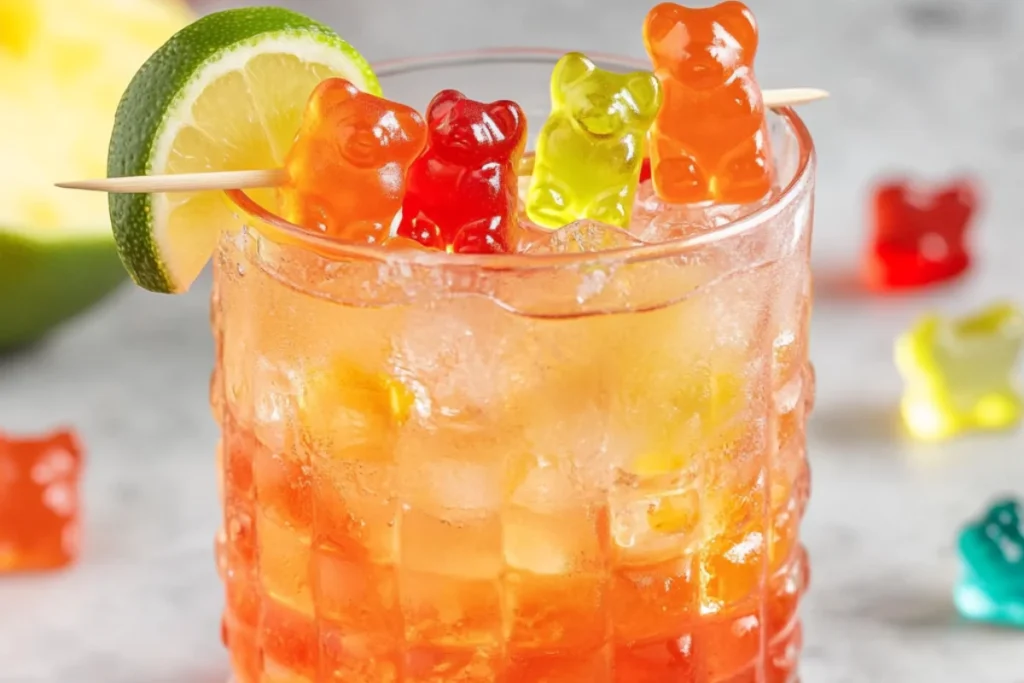
Liquefied candy blends effortlessly into cold juices, herbal teas, and party beverages. Liquid candy eliminates the need to chew solid sweets while drinking. A standard beverage recipe uses a simple ratio for liquid dosing.
| Source | Recommended Dosage | Context |
|---|---|---|
| Hennep Blog | 10 mg THC per beverage | Suggested as a low starting dose for a THC-infused apple cider cocktail. |
| Proof Cannabis Guide | 10 mg THC (from 1:1 tincture) | Recommended dosage per half dropper for use in cannabis cocktails. |
You can easily stir liquid candy into beverages without altering drink texture. This process allows you to enjoy thc drinks or cbd products in liquid form.
1.2 Create Homemade Edible Recipes with Precise Dosing
Liquefying chewables helps chefs calculate strength across whole batches. However, homemade mixing differs greatly from commercial manufacturing accuracy.
BudPop’s Cosmic Punch D9 gummies demonstrated only 2.1% potency variance… That means a “15mg” gummy contains between 14.7 and 15.3mg of actual THC.
Commercial brands achieve this accuracy with industrial equipment. When you learn how to melt gummy bears at home, stir thoroughly to distribute active ingredients evenly.
1.3 Recast Melted Gummies Into Custom-Shaped Candy Molds
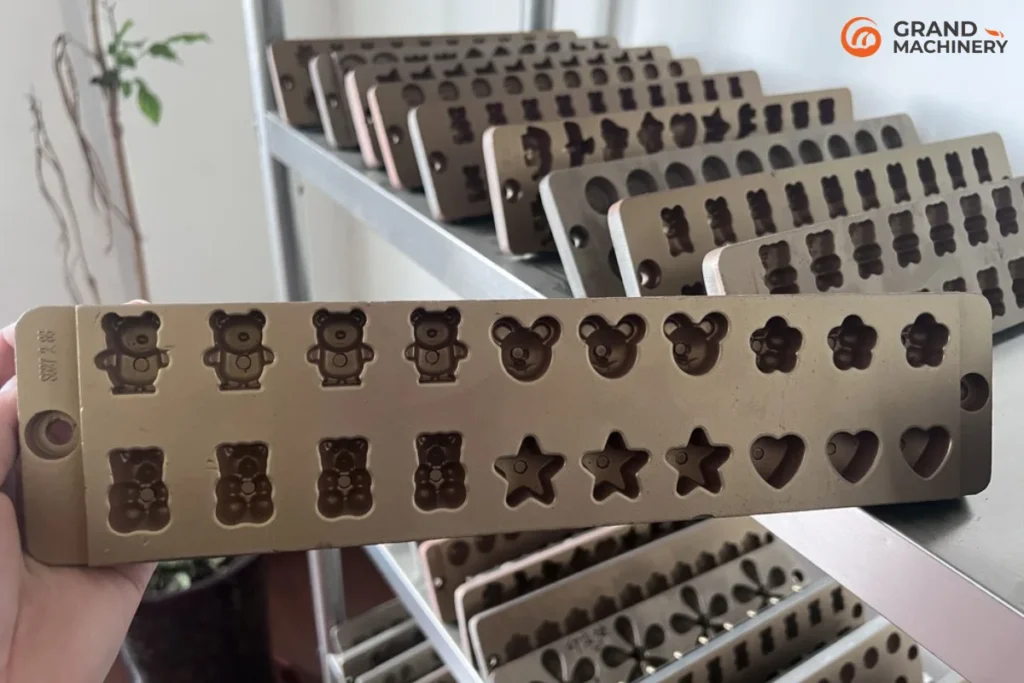
Custom molds let you reshape plain candy into fun festive designs. You can melt gummy bears slowly to create novel party favors. Pour liquid into flexible silicone shapes before the mixture sets.
- Sort pieces by color before warming to maintain vibrant hues.
- Use warm liquid candy to fill small mold details quickly.
- Cool completed molds in the refrigerator for two hours.
This technique allows you to melt infused gummies for personalized candy gifts.
1.4 Craft Edible Syrups and Dessert Sauces from Scratch
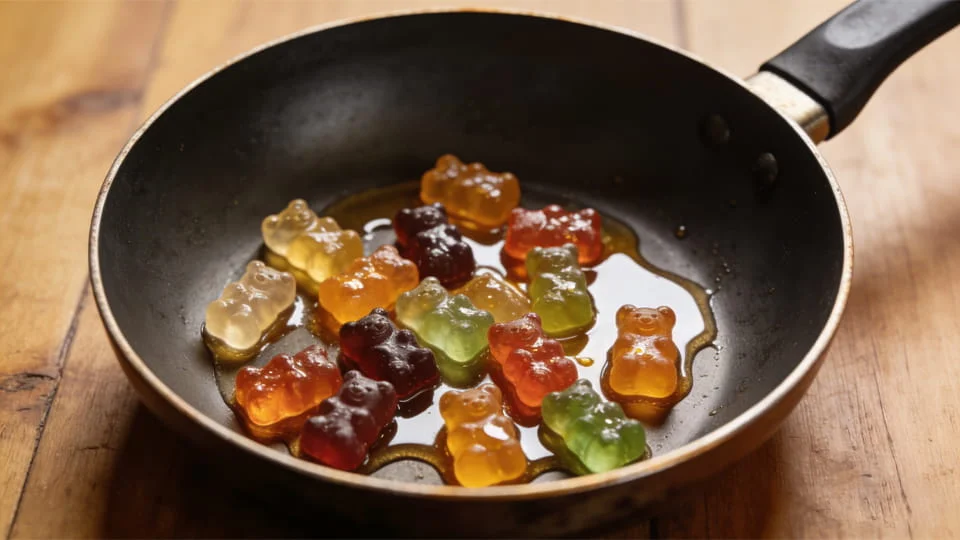
Liquid candy makes an excellent topping for ice cream, pancakes, and fruit bowls. You can melt gummy bears in a small pan with fruit juice to create dessert syrup.
| Storage Condition | Flavoring Used | Estimated Shelf Life for Potency |
|---|---|---|
| Refrigerated | Fresh fruit juice | Up to 2 weeks |
| Dark, dry, cool place (not refrigerated) | No flavoring agents | Up to 6 months |
Store your finished syrups in airtight glass containers to maintain freshness and potency.
1.5 Infuse Melted Edible Liquid Into Baked Goods & Candy
Adding liquid candy into batter creates unique baked goods. You can make edibles by mixing warm syrup directly into cookie dough or cake batters. You can also infuse gummy bears into glaze toppings. If you want stronger treats, add cannabis oil to the warm mixture during preparation.
Keep your oil below a simmering point during heat application to prevent premature cannabinoid loss. To preserve maximum potency during baking, do not expose your batter to external temperatures above 400° F. Proper heat control during infusion ensures your final edibles retain full potency. Learning the art of melting gummy bears improves your kitchen options and lets you make edibles easily. You can pour melted gummy bears over warm pastries for a sweet dessert upgrade.
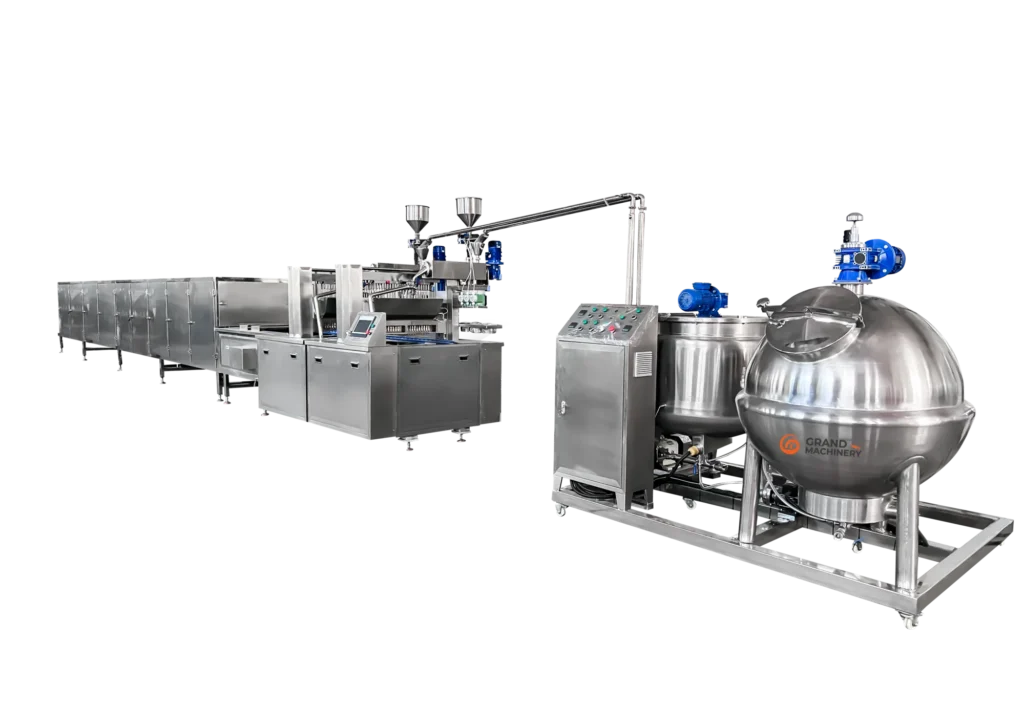
At industrial scale, gummy production lines combine melting, depositing, and cooling in one continuous process.
2. Can You Melt Edible Gummies Without Destroying the THC/CBD?
You can melt active sweets without ruining their strength. Excessive temperatures destroy active compounds quickly. Strict temperature control protects the chemical profile. Liquid edibles digest faster in the stomach, but hot pots pose risks.
2.1 The Critical Temperature Threshold — When Cannabinoids Start to Degrade
Cannabinoids break down when exposed to excessive heat over time. High heat converts active components into weaker compounds. The table below outlines critical temperatures.
| Temperature (°F) | Description of Degradation |
|---|---|
| Above 77°F | Accelerated degradation begins, especially with light exposure. |
| Above 100°F | Significant THC conversion to CBN happens within days. |
| Above 120°F | Rapid degradation makes cannabis unsuitable for storage. |
| 392°F | Molecular structure becomes unstable during rapid degradation. |
Always keep temperatures far below these extreme limits. High thermal levels ruin compound potency quickly.
2.2 THC vs. CBD — How Heat Affects Each Cannabinoid Differently
Molecules show varying tolerance levels to thermal exposure. Active compounds degrade at different rates under hot conditions. Thermal management protects distinct ratios inside infused treats.
Excessive heat destroys sensitive active molecules and causes severe potency loss.
Adding liquid helps lower direct pot temperatures. Add a small amount of water or fruit juice prior to warming. This addition dissolves solid pieces smoothly into syrup without scorching sugar.
2.3 Terpene Preservation — Why Low Heat Matters for Flavor & Effects
Terpenes provide aromas and flavors in plant extracts. These compounds evaporate quickly at high temperatures. The table below lists boiling points for primary aromatic compounds.
| Terpene | Boiling Point (Approx.) | Supporting Context |
|---|---|---|
| Myrcene | 334°F (168°C) | Beneficial for cooking high-myrcene cultivars. |
| Limonene | 349°F (176°C) | Advantageous for cooking, adding citrus flavor. |
Gentle warming preserves these delicate aromatic extracts. Retaining natural aromas maintains optimal syrup taste.
2.4 The Golden Rule: Low and Slow Equals Maximum Potency
Patience guarantees successful liquefaction without wasting ingredients. Apply low indirect thermal energy during liquefaction. Stirring continuously prevents localized hot spots inside your dish.
You can mix liquid syrup into warm butter or cooking oil later. Low thermal processing keeps active ingredients effective. Controlled preparation delivers perfect liquid results.
3. How To Melt Edible Gummies Into Liquid: 4 Proven Methods
3.1 Microwave Method — The Fastest Way (15–30 Seconds Per Burst)
Mastering how to melt edible gummies into liquid requires choosing proper equipment. You can melt gelatins quickly for small recipes. The microwave method works well for simple tasks. Place chopped candies into a glass bowl. Set power to 50 percent.
Microwave the bowl in short 15-second intervals. Continuous monitoring stops sugar from scorching. Stir the mixture thoroughly between heat bursts. This approach shows how to melt gummy bears efficiently when you need fast results.
3.2 Double Boiler Method — The Safest Way to Preserve Cannabinoids
The double boiler technique offers maximum control over thermal exposure. Fill a bottom pan with two inches of water. Place a glass bowl over the simmering water. The steam provides gentle energy to melt candies safely.
Stir the candies constantly with a non-stick silicone spatula. Indirect steam preserves delicate cannabinoids and terpenes. This delicate approach is ideal to melt gummy bears without degrading active ingredients.
3.3 Stovetop Saucepan Method — Best for Larger Batches
Large recipes demand a direct stove approach. Use a heavy-bottomed saucepan on the lowest stove burner setting. Add a tablespoon of fruit juice to prevent stickiness. Direct heat requires constant attention to melt ingredients smoothly.
Stir the contents continuously across the bottom surface. Constant motion prevents sugar burn. Knowing how to melt gummy bears in a saucepan allows big batch processing for syrup recipes.
3.4 Slow Cooker or Candle Warmer Method — Hands-Free, Set-and-Forget
Slow cookers provide steady thermal energy to melt solid candy during long tasks. Set your appliance to the warm setting. Place candies inside small glass jars. This gentle technique takes longer to melt gummy bears completely into syrup.
A candle warmer creates a hands-free workstation to melt sugary treats. You can melt gummy bears slowly without constant supervision. Practice melting gummy bears with this technique for steady results. Following these steps teaches you how to melt edible gummies into liquid successfully. Melting gummy bears over low settings ensures ultimate control.
4. 5 Common Mistakes When Melting Edible Gummies (And How to Avoid Them)
4.1 Overheating Above 320°F — Burning Sugar AND Destroying Potency
Applying direct heat can ruin your chewable treats quickly. Exceeding 320°F scorches sugar instantly and degrades active cannabinoids.
Controlled thermal management protects delicate active compounds. Keep temperatures low to melt your sweets safely without burning.
4.2 Adding Water Too Early — Why It Creates a Sticky, Unusable Mess
Pouring liquids at the wrong time ruins candy texture. Introducing liquids too soon creates a clumpy, sticky mass inside your bowl.
| Function of Adding Water | Effect on Texture/Consistency | Context |
|---|---|---|
| Plasticizer | Helps melted mass flow, preventing thick paste. | Double Boiler |
| Corrects moisture loss | Re-hydrates candy to counteract crystallization for smoother texture. | Home or factory settings |
| Adjusts viscosity | Brings re-melted syrup to correct fluidity for molds. | Industrial rework |
| Revives stale gummies | Softens product by replacing lost moisture. | Recovering old gummies |
Smart timing matters for fluid additions during liquefaction. Proper fluid control helps syrup melt evenly across your entire batch.
4.3 Uneven Melting and Hot Spots — The Stirring Fix
Static candy creates localized hot spots inside cookware. Unattended syrup burns along the bottom surface while top pieces stay solid.
Continuous heat distribution ensures smooth energy flow. Constant stirring with silicone spatulas fixes uneven thermal pockets during the melting process.
4.4 Using Plastic or Wrong Cookware — What’s Safe and What’s Not
Thin plastic containers warp under thermal stress. Standard plastic bowls can leach unwanted chemicals into warm candy syrup.
Heat-safe glass bowls offer complete culinary safety. Glass and silicone tools allow you to melt gummy bears cleanly without sticking.
4.5 Skipping the Thermometer — Why Guessing the Temperature Is Risky
Visual checks fail to measure exact internal energy. Cooks often overheat sugar when they attempt melting gummy bears without proper tools.
Digital candy thermometers eliminate dangerous guessing games. Precision measurements preserve active potency when you melt gummy bears, while careful monitoring helps when melting gummy bears for custom recipes. You can prepare uniform gummies with proper tools.
5. How To Melt Edible Gummies Into Liquid: A Visual Step-by-Step Walkthrough
Step 1 — Choose Your Melting Method Based on Batch Size
Batch size dictates your exact warming method. Glass bowls in microwaves suit small single portions. Double boilers on stoves handle larger quantities much better. Selecting the correct appliance setup simplifies learning how to melt gummy bears while protecting active compounds.
Step 2 — Prep Your Workspace and Gather All Tools
Set up a clean kitchen workspace before warming your candy. Gather flexible silicone spatulas, heat-safe glass cups, candy thermometers, and fresh gummies. Organizing reliable equipment early allows you to make edibles safely without messy interruptions or unnecessary delays.
Step 3 — Apply Controlled, Gentle Heat (Never Above 240°F)
Apply low indirect heat to warm your cooking dish slowly. Maintain internal thermal levels below 240°F to preserve delicate active ingredients inside your edibles. Gentle warming allows you to melt gummy bears smoothly without scorching the sweet sugar base.
Step 4 — Stir Frequently and Check Consistency
Continuous spatula movement prevents hot spots when direct heat touches container bottoms. Stir thoroughly to blend melted gummy bears into a fluid state. If you encounter a sticky or clumpy mixture, add a small splash of warm water to dissolve stubborn candy pieces completely.
Step 5 — Pour, Mold, or Mix While Still Warm
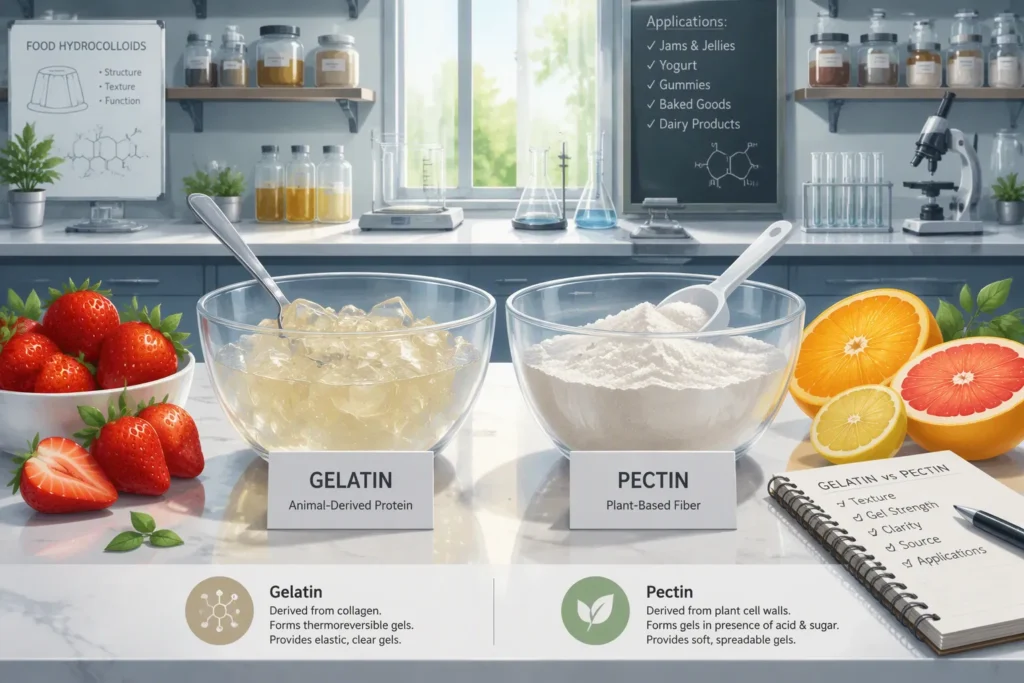
Liquefied gelatin thickens and hardens rapidly as temperature drops. You must quickly pour infused gummy melt into flexible silicone gummy molds before gelatin re-solidifies. Alternatively, stir warm melted gummy bears directly into fruit juice, warm herbal tea, or water to craft a drinkable treat without losing overall potency.
Step 6 — Clean Up Sticky Residue the Right Way
Clean your culinary tools immediately after finishing your recipe. Fill sticky pots with hot water to melt remaining sugary syrups off glass and silicone surfaces effortlessly. Proper washing habits make melting gummy bears easy and keep your workspace ready for future kitchen projects.
6. Essential Tools for Melting Edible Gummies Into Liquid
6.1 Must-Have Equipment: Bowls, Spatulas, and Heat Sources
Preparation requires proper equipment for home cooks who want to make edibles correctly. Heat-safe glass bowls provide clear visibility during thermal processing. Flexible silicone spatulas help scrape thick syrups off container walls without leaving sticky residues behind.
Reliable heat sources control thermal energy during processing. A microwave allows kitchen workers to process regular gummies quickly. This process involves heating a gelatin mixture in short bursts before combining it with liquid ingredients.
6.2 Candy Thermometer — The Tool That Saves Your Cannabinoids
Accurate temperature management prevents the accidental destruction of active compounds. Digital models like the ThermoPop offer high accuracy within ±2°F (1°C). Instant readings allow quick adjustments before warm sugars scorch.
Clip-on analog models offer steady hands-free monitoring during stove heating. The Polder Candy Thermometer reads temperatures from 90°F to 400°F with clip-on convenience. The Williams Sonoma Easy Read model features a heat-proof helper handle and reads up to 400°F for extra protection.
6.3 Best Silicone Molds and Storage Containers for Melted Edibles
Flexible silicone molds help shape warm candy after processing. Cooks pour warm candy directly into flexible cavities to form uniform shapes. Silicone material bends easily, so set treats release cleanly without breaking.
Cooks combine liquid candy with cannabis extract to create uniform mixtures. Adding infused oil ensures smooth texture during mixing. Stirring the oil into warm liquid creates balanced portions before storage.
6.4 Safety Gear — Oven Mitts, Parchment Paper, and Spill Protection
Hot sugar syrup causes painful skin burns upon direct contact. Thick oven mitts protect hands while moving hot glass containers out of heat sources. Flexible parchment paper covers counters to catch accidental drops cleanly.
Pouring hot candy demands steady movements across workspace surfaces. Rubber mats catch excess drops before hot syrup hardens on countertops. Protective gear keeps workers safe while they melt sugary ingredients into smooth liquid bases.
7. Final Verdict — Master the Art of Melting Edible Gummies Into Liquid
Mastering the technique for transforming chewable candies into smooth syrup gives home cooks total culinary flexibility. Learning how to melt edible gummies into liquid requires gentle, indirect thermal application to protect active ingredients. Maintaining internal thermal levels strictly between 95°F and 150°F keeps sugar from scorching in the pan. This safe temperature range preserves delicate THC and CBD molecules completely. Gentle heating methods like a double boiler setup or low microwave power protect your ingredients from extreme heat damage.
Initial preparation and proper equipment selection determine your overall results in the kitchen. Non-stick silicone spatulas scrape heat-safe glass containers clean without leaving sticky residues behind. Adding a small splash of warm water or fresh fruit juice helps dissolve stubborn solid candy pieces smoothly. This small fluid addition prevents clumpy mass formation and maintains ideal syrup viscosity throughout the process. Continuous stirring eliminates localized hot spots across the bottom of your cookware. Consistent physical motion guarantees even heat distribution during the entire liquefaction cycle.
Temperature control remains your primary defense against cannabinoid degradation. High temperatures above safe limits rapidly convert active compounds into weaker chemical byproducts. Exceeding recommended thermal thresholds destroys natural terpenes, ruining both natural flavors and desired therapeutic effects. Using a reliable digital candy thermometer eliminates risky guessing games during warming. Monitoring your pan regularly preserves exact potency standards for your finished sweet infusions.
Timing remains critical once your sweet mixture reaches a fully liquefied state. Melted gelatin thickens rapidly as the mixture cools on your countertop. You must pour your warm syrup into flexible silicone molds or drinkable liquid mixtures immediately after removing direct heat. Working quickly prevents premature re-solidification inside your mixing bowl. Following these simple practical guidelines ensures maximum cannabinoid retention, precise dosing accuracy, and hassle-free culinary success every single time.
Mastering the proper way to melt chewable edibles requires basic kitchen techniques. Always apply gentle indirect heat using a double boiler setup or a microwave set to 50% power. Adding a small splash of fruit juice or water creates a consistent syrup texture. Maintaining safe temperature levels between 95°F and 150°F remains essential during the process. This controlled heat preserves original active compounds and protects delicate thc potency from degradation. Finally, work quickly once you watch your candies melt into a smooth fluid. Pour liquid mixtures into silicone molds immediately before the warm sugary base begins to cool and gel completely.
FAQ
How long does it take to melt gummy bears in the microwave?
Microwaving candy takes very little time. Set your machine to 50 percent power. Heat the dish in short 15 to 30 second intervals. Stir the mixture between bursts until it turns into a smooth liquid base.
What is the ideal temperature range for melting active gummies?
Keep the internal temperature strictly between 95°F and 150°F. Never exceed 240°F during heating. Excessive heat destroys active compounds and scorches sugar. Controlled low heat protects cannabinoid potency while you make edibles from home.
Why did my melted candy turn into a sticky, clumpy mass?
Candy clumps when you apply direct heat without proper moisture balance or stirring. Hot spots cause uneven melting. Fix this sticky texture by stirring constantly. Adding a small splash of warm water or fruit juice helps dissolve stubborn pieces smoothly.
Can you re-mold melted liquid into new shapes?
Yes, you can pour warm liquid candy directly into silicone molds. Work quickly before the gelatin base cools and re-solidifies. These reshaped edibles require about two hours of refrigeration to set completely into firm, custom treats.